So, I recently moved into a new apartment and was given several copies of the apartment door key. However, to my dismay, I realized that I was only provided with one badge to access the building. When I reached out to the real estate agency, they informed me that they didn’t make badge copies and suggested that I find someone who could do it for me. Instead of taking the easy way out and finding someone to clone the badge, I decided to tackle the task myself. Much to my surprise, it turned out to be a relatively simple process. Here’s the recipe:
1st) Only 13,56 MHz can be cloned with an smartphone
Most key cards, badges, and other access devices typically operate on the frequency of 13.56 MHz, as they are designed for close-range use, typically within 10 cm or less. However, 125 kHz badges can also be found, although these are typically used for access points or animal tags that require a larger range, around 1 meter.
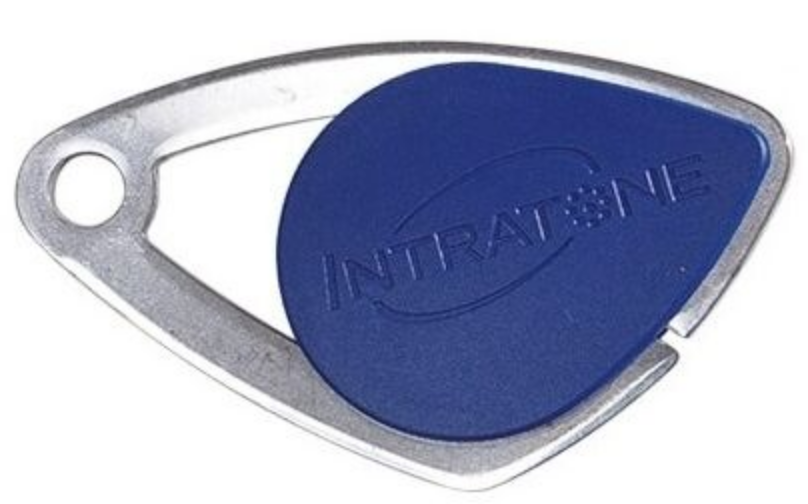
This badge is similar to the ‘original’ one that I need to clone.
2nd) Make sure your smartphone has NFC
NFC, or Near Field Communication, enables data exchange between two devices, such as your cellphone and a payment machine, or in this case, your cellphone and a tag.
It’s important to note that not all smartphones support NFC, and the success of the process may vary depending on the device. For example, I tried using an Honor 10 Lite, which is a slightly older device from 2016, but the data read was always corrupted. However, when I tried it with a Xiaomi Redmi Note 10 Pro, it worked perfectly fine.
3rd) Buy a badge to clone
There are numerous RFID tags, or badges, that operate at a frequency of 13.56 MHz. One example is the MAGIC PASS badge, which is programmable and compatible with MCT Android. It features modifiable UID.

4th) Install (android) the MIFARE classic tool
To clone the badge, I utilized the MIFARE Classic Tool for Android. There may be similar tools available for other systems such as iOS. You can find the MIFARE Classic Tool on Google Play via this link.
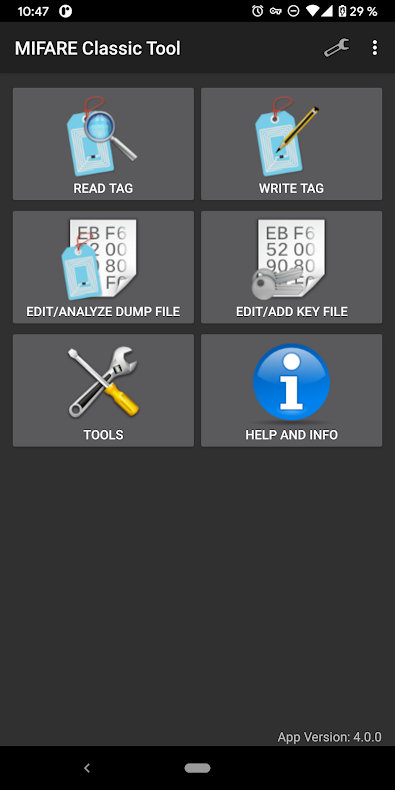
5th) Using MIFARE classic tool
The usage of the MIFARE Classic Tool is straightforward.
To begin, simply click on the “Read Tag” option to read the content of the original tag.
Select extended-std.keys and std.keys.
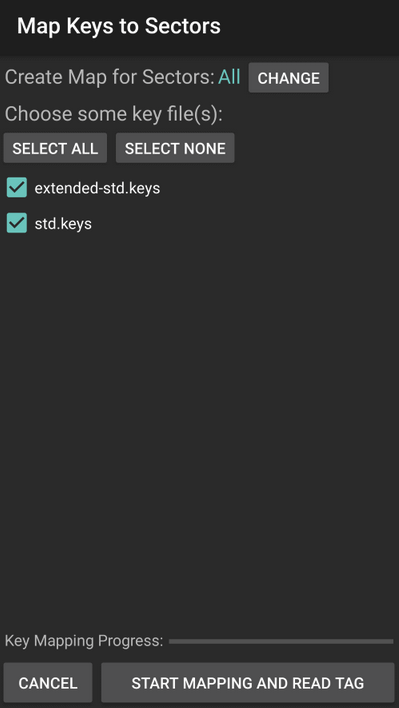
Click on START MAPPING AND READ TAG
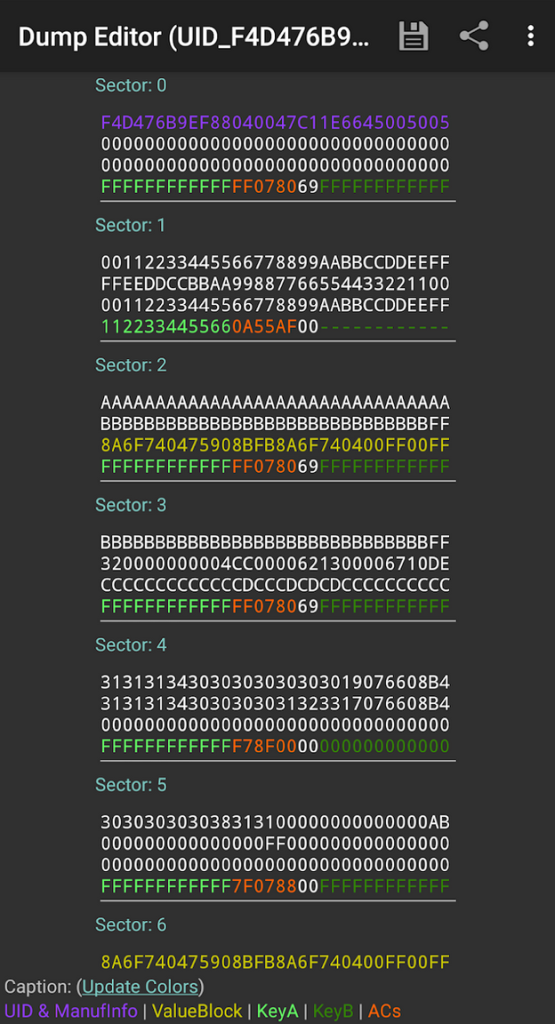
The Dump Editor will open after reading the Tag. Save it as badge_ori or whatever you want.
Go back to the initial screen and select Write Tag to copy the content of badge_ori to the new badge.
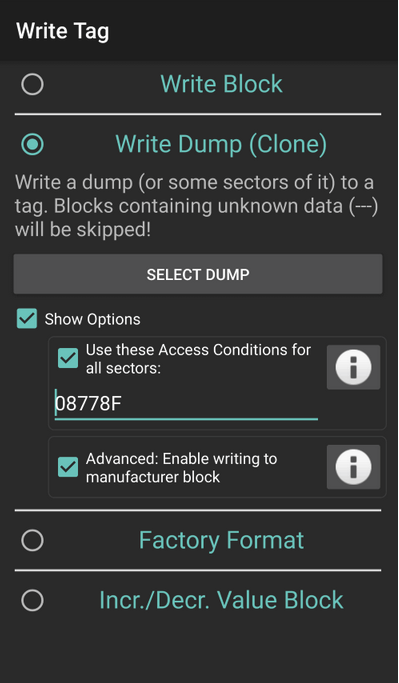
Select Write Dump (Clone), then in Show Options select Use these Access Conditions for all sectors and Advanced: Enable writing to manufacturer block. Click on SELECT DUMP to load the badge_ori file.
Next you will select all sectors, since we want to clone all the sectors of the original badge:
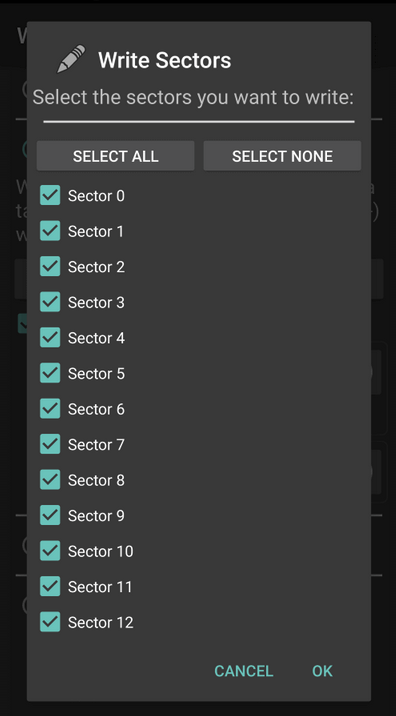
You need to place the new badge in close contact with your phone at this point, then click on “OK”.
Occasionally, there may be an error when attempting to write to the new badge for the first time. If this happens, simply repeat the process and it should work.
To verify if the content was cloned correctly, you can read the new badge, save the dump file, and compare it with the original one. Alternatively, you can also test the cloned badge.
I hope this tip proves useful. I didn’t go into too much detail as the process is straightforward, but if you need clarification, feel free to ask in the comments, and I will update the guide accordingly.